Ubuntu 14.04.4 was recently released and it comes with a bunch of bug fixes and security features since 14.04.3
What are the new features in this release?
- Support for new hardware and stability.
- One of the hardware features that really captured my eye is the Hardware stack,.
- Ubuntu 14.04.04 had the same kernel as Willy werewolf 15.10 of Linux 4.2, which is a huge jump from the 3.19 that Ubuntu 14.04.03 has!
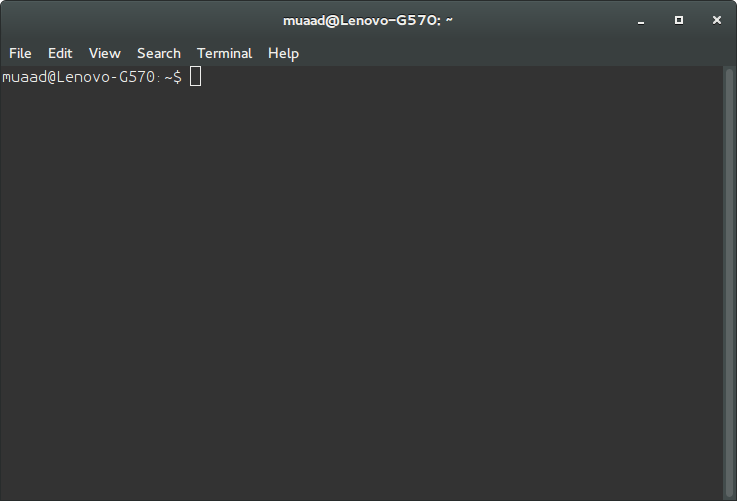
I confirmed that myself by typing in the commanduname -r into terminal after install. I decided to download Ubuntu Gnome 14.04.04 and give it a test on a virtual machine before installing it, the test was encouraging so I decided to install it.
But, what about 16.04?
I could just wait for Ubuntu 16.04 to roll out in April, but I had too much issues going on anyway. The reason is I had so much troubles with my system, I couldn’t continue with it they way it was. So I decided to remove the system I had and install a fresh one.
The end of Dual booting!!
To make space for the distro I decided to drop Windows and the idea of dual booting all together, did you notice I even changed my domain a while back? It’s just not working for me. I found myself constantly jumping from one OS to the other, as I had two systems, two documents, and two bookmarks, and syncing those wasn’t exactly a walk in the park. I was dysfunctional and unorganized, almost the same of having two laptops running side by side, which was the main reason to start the dualboot saga! I use the same tools on Ubuntu and Windows, so having two instances of LibreOffice and Gimp isn’t really working!
Virtualization
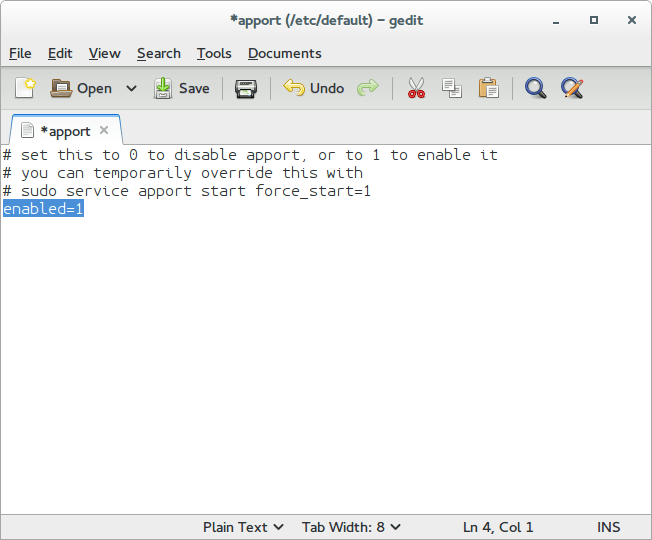
Since I don’t own licenses to software (except Windows itself) it made the decision much easier to follow. I have a solution, visualization! Instead of having two systems living side by side, I decided to move the Windows license to the virtual machine I made, and then to delete the partition all together, because I barley use Windows anymore, but at the same time I could use it, so that’s why I’m using Virtualbox, for the moments I wish I had Windows. I had a clear plan and I was on to execute.
Getting to work!
I decided to remove Windows, install the new Ubuntu and make sure it had plenty of space to run. Deactivating Windows I started by following the steps in this post, which was easy because I have done it several times before, I removed the activation and then activated Windows on the virtual machine, all in under 10 minutes! Then came the fun part!
Preparing install media
I downloaded my distribution of choice, Ubuntu 14.04.04 from the server as a torrent download, which was much faster than regular download, I put it on a USB drive using Yumi and I was good to go. Setting up the HDD I used Gparted on Partedmagic to repartition the HDD (it’s crucial to take a copy of the data and keep it in a safe place), I made sure that Ubuntu gets over 50 GB of free space because over time you are going to need the space, I merged the old Windows partition with the Linux partition and rebooted to begin the install.
Installing Ubuntu
Installing Ubuntu is one of the easiest installations you can ever have, it’s user friendly and super fast, you can finish it all in under 15 minutes and you are good to go! I installed Ubuntu, and proceeded to reinstall my software and tools. I noticed that Libreoffice was 4.2 which is out of date, even for the stable release! I had to remove it and install the latest 5.1 to enjoy the performance and newly designed interface! I also had to add VLC and Gimp manually, as well as Zimwiki.
I also installed Pomodro timer, it works very well with Ubuntu Gnome 14.04.
All and all it took less than a day to get my computer back to normal.
mpression after installing Ubuntu 14.04.4
I must say that running a native Ubuntu gnome is much better than adding Gnome interface to any Ubuntu installation. It runs much smoother and many of the bugs I noticed are long gone!
 |
| Screenshot from Ubuntu 14.04.4 after install |
Final words
Looking back, my main goal of installing Windows alongside Ubuntu was to enjoy gaming on my computer, looking back I hardly did any gaming and I had Windows installed for almost 2 years! I can still play on Ubuntu and if must use the Virtual machine to play (I tested for that and it wasn’t promising). I’ll be keeping you posted about anything I notice!
P.S: I no longer use this awesome distro, I’m on Ubuntu Gnome 16.04 and it was an excellent distro to use, so good I almost didn’t upgrade!