Your journey has ended! Here I give you the easiest way to change the user picture.
As always I am going to navigate through the failed solutions I used, before getting to the fix.
One of the fixes suggested that you rename the hidden .face file to change the user picture. It changes it on the menu but not at the lock screen. And there were many sizes suggested. That didn’t work for me. At all..
The other was going through tons of menus trying to find the option, none of that worked.
The fix was (or actually something I messed up!) is that I removed the about me software, I forgot that I used it to change my data!

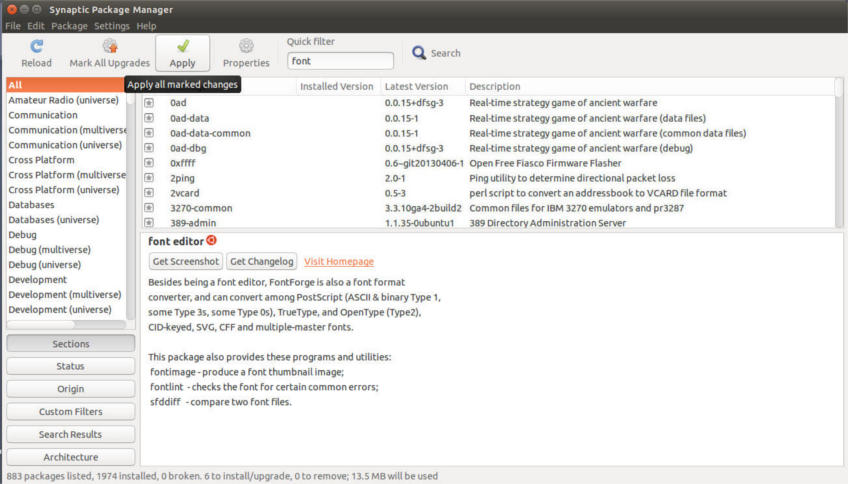
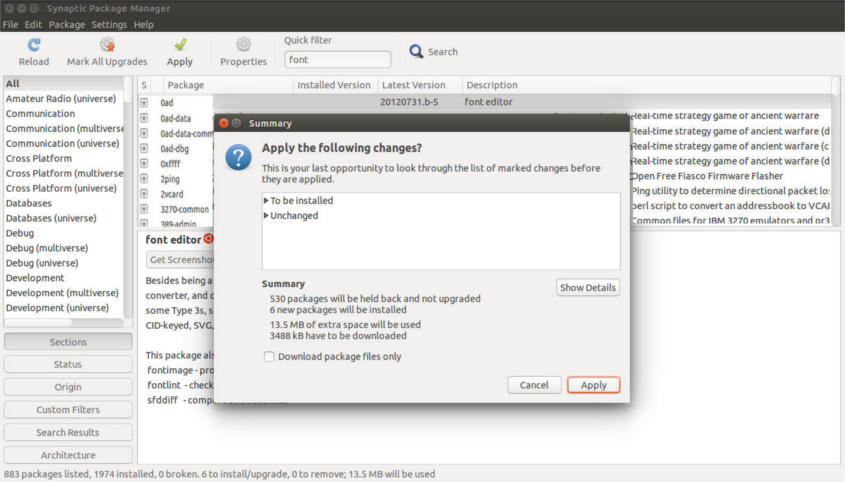
Go to the software center and install About me if you don’t already have it. If you do you can skip that step.
After you install it, open the program.

To change the picture, just click on it, a menu will appear under the picture where you have two options: Browse for images, or select from stock stock.

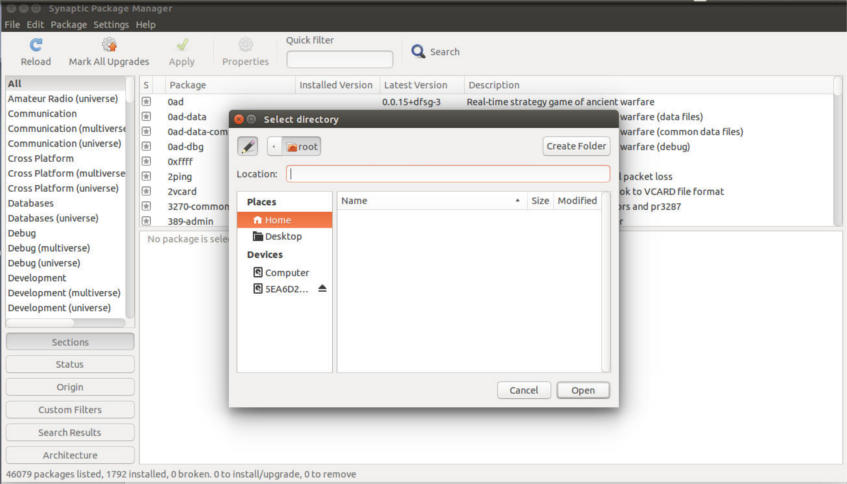
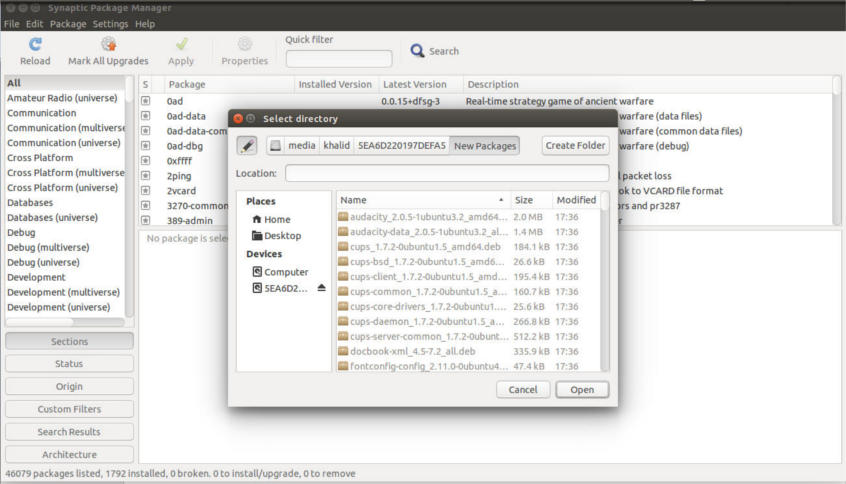
Browsing for pictures will open a browse dialogue

You can crop the picture from the center, left or right (it has to be a specific size).
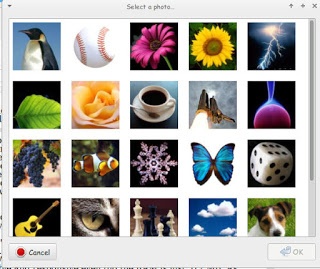
Clicking choose from stock will result in this dialog, choose the image and select OK.

As simple as that.