If you happen to buy the ZKTeco iFace 950 equipped with Bio Time 7.0. You would know that it’s an excellent bio metric machine with plenty of options to track attendance. Facial recognition, fingerprint scanning, ID cards. A lot to choose from.
And it happens to be a nightmare to set up!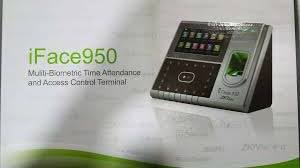
2. Can work directly with the machine or via a server
If your fingerprint machine is connected to a server and given an IP address, then there is no problem connecting to it using this software. On the other hand if you connect to it directly using a network cable you will also be able to download the log from it when you need it.
And it happens to be a nightmare to set up!
You see Bio time is really difficult to configure. I found a 40 minute video on Youtube that explains how to do it, and I still got it wrong.
Bio time = waste of time.
What was I doing wrong?
I’ve bought the machine, installed it on a wall and begun inserting the employee names into the machine and registering their information. Just like any regular machine would do, right?
No, this software is very different, it would require you to register all staff from a web interface, then put that into the machine. Overriding any information you had.
You could take a USB copy of the data, but that’s useless. I mean there are two tables that are impossible to link. One is for employees and the other is for attendance log. Trust me I’ve tried many times to create a database and it didn’t work..
So the web interface doesn’t work. Dumping information on USB doesn’t work. What does work?
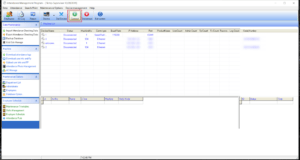
ZKTeco Attendance Management
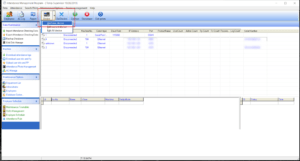
Enter ZKTeco Attendance Management. Which is the predecessor of Bio time made by the same company . It’s a stand alone software that’s installed on your computer and you can access the fingerprint scanner using the software interface.
Pros of using ZKTeco Attendance Management
1. Can work on multiple models and machines. In my case I’m using the aforementioned i950 and UT800.
My setup is composed of two finger print scanners of different models linked on the same network. This software has no problem reading them and downloading information from them.
My setup is composed of two finger print scanners of different models linked on the same network. This software has no problem reading them and downloading information from them.
Please note that this version of the software supports 2 default machines. If you have more than that then additional configuration might be needed.
2. Can work directly with the machine or via a server
If your fingerprint machine is connected to a server and given an IP address, then there is no problem connecting to it using this software. On the other hand if you connect to it directly using a network cable you will also be able to download the log from it when you need it.
3. Simple and easy to use
The interface is simple and intuitive. Unlike the abomination Bio time is.
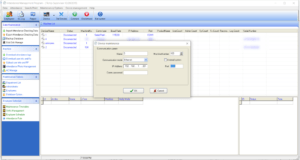
Adding a machine
Adding a machine is very easy. All you have to do is click on “Add machine” .
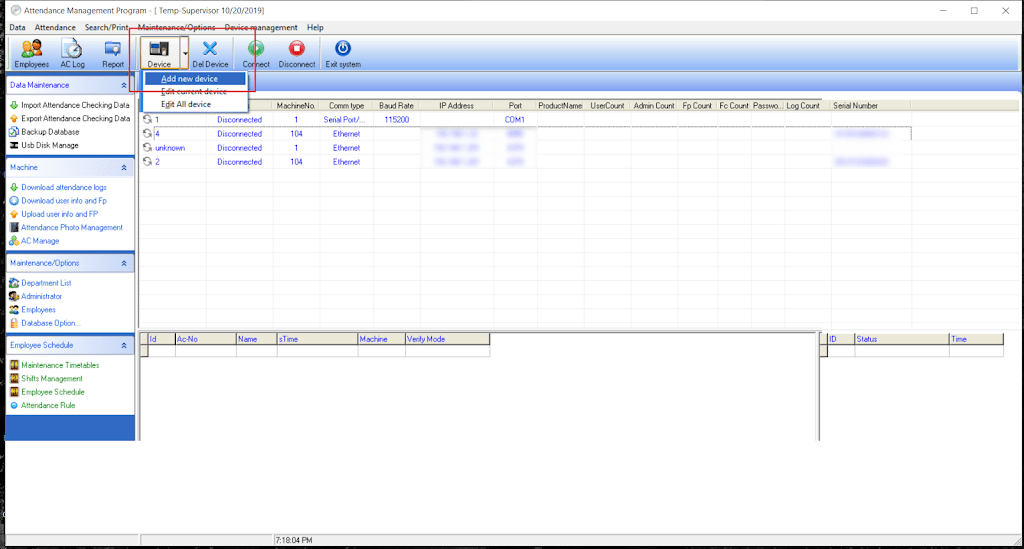
Then enter the IP of the machine. If it’s connected to a router / server then use that IP. Or use the one from your network settings if it’s connected directly to your computer.

Giving the machine an IP is done under COMM / IP. You also need to set a port number for the machine.
After that you connect to the machine. Wait for a bit and if everything goes well. You will be able to proceed to the next step.
Change the database directory to your installation directory
By default the directory would be set to a folder that doesn’t exist on your computer. I recommend changing to: C:Program Files (x86)ZKTeco5]”C:Program Files (x86)ZKTeco5att2000.mdb”
Downloading attendance log
All you have to do is click on the button “Download attendance log”. To save the log on your computer. You can choose the format and I recommend excel sheet file format.

You can set rules for your establishment from “setting rules”. But I’ll leave that for you to work it out.
Download the software
You can download the software from here.
Final words
Sometimes and older solution is a better solution. Both software are made by the same company and will work on machines made by ZKTeco / Trust. I haven’t tried products by other companies such as Fingertec for example. Give it a try if you want but chances are it won’t work..
Did you find this tutorial useful? If so please let me know in the comments section below and I’ll see you in the next one.