 Synaptic package manager happens to be my favorite way of installing software, much better than Gnome software and Software center, I even blogged twice about how it can be used to batch install downloaded packages (one was the older one and the other was a rewrite).
 but lately it won’t add the downloaded packages and that was frustrating to me!
Describing the issue
When clicking on add downloaded packages nothing happens, the installation prompt doesn’t appear, to me that is a serious issue because I copy the packages from my laptop to other computers around the house to update and add new software
The first solution that cam to mind was to uninstall Synaptic 0.83 and install an older version, 0.82 and 0.81 needed some dependencies so I dropped the idea!
Uninstalling and reinstalling Synaptic didn’t do anything, not even when using the option “completely remove” option from inside Synaptic (ironic, isn’t it?).
Finally fixing the Synaptic package manager 0.83 not adding downloaded packages issue
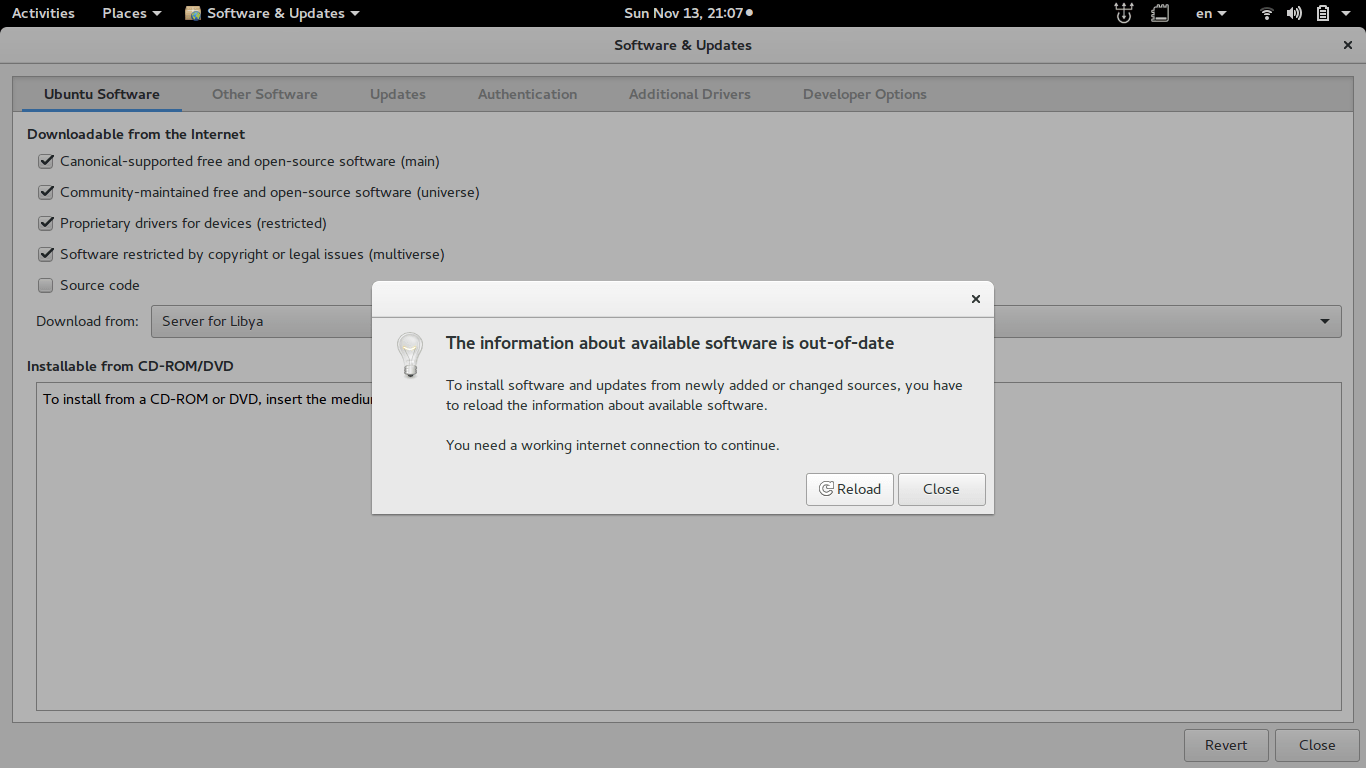
- To fix the Synaptic package manager 0.83 not adding downloaded packages issue you need to close Synaptic and go to Software and updates.
 |
| Software and updates interface |
- From there make sure that the first option is checked, if it’s checked then uncheck it and then check it again, you will be promoted to enter your password, then click close.
- A pop up will appear telling you that package information is out of date and needs updating, and that you need a working Internet connection , click on “Reload” to continue.
")
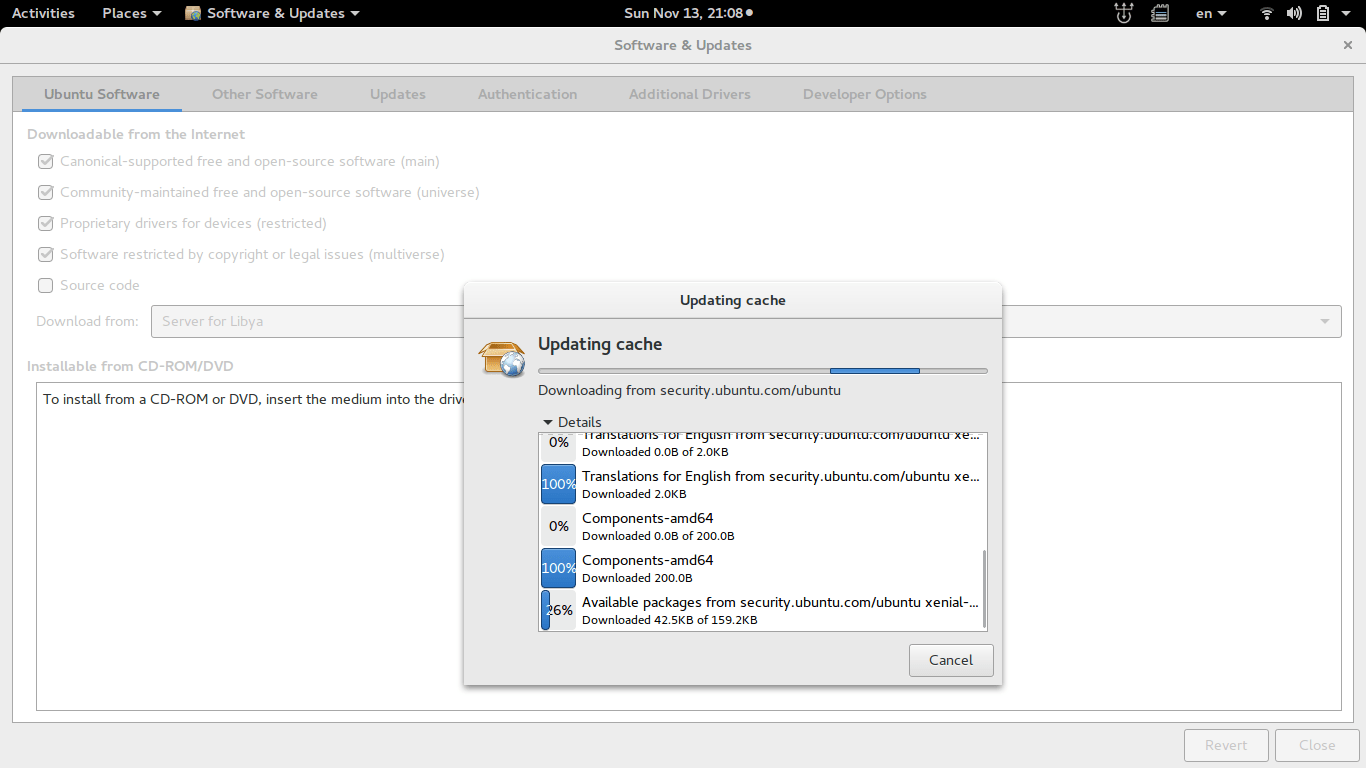
Reload package information (out of date) - The following windows will appear, the system is updating cached information, After the package reload is complete, it will be closed automatically.

Updating cache - Now you can go into Synaptic and add downloaded packages without a problem!
Final words
Fixing this annoying bug was so easy after all and it felt so good! I hope this helps you go through a hard day.
Please share this post so you can help someone else in need, and leave a comment if you have any questions!
Have a nice day 🙂


