Category: Fix (Page 6 of 11)

Fixes to bugs encounterd after moving to Gnome 3.12 on Xubuntu 14.04

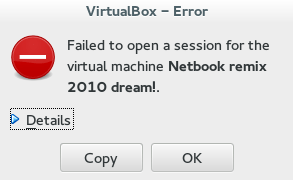
I just moved to Gnome and noticed several bugs! First of all I didn’t know how to go to sleep mode!

That was very easy, click on the right corner and hold ALT and the power off button will change to sleep. That’s great! But now that I can go to sleep mode, the computer won’t wake up!


It doesn’t show up anything! Just a laminated dark screen and I have to power it off to be able to use the computer!

I looked up dozens of pages without finding a single clue, many people assumed it was a video driver issue or something. It wasn’t the video driver!
The answer was right under my nose!
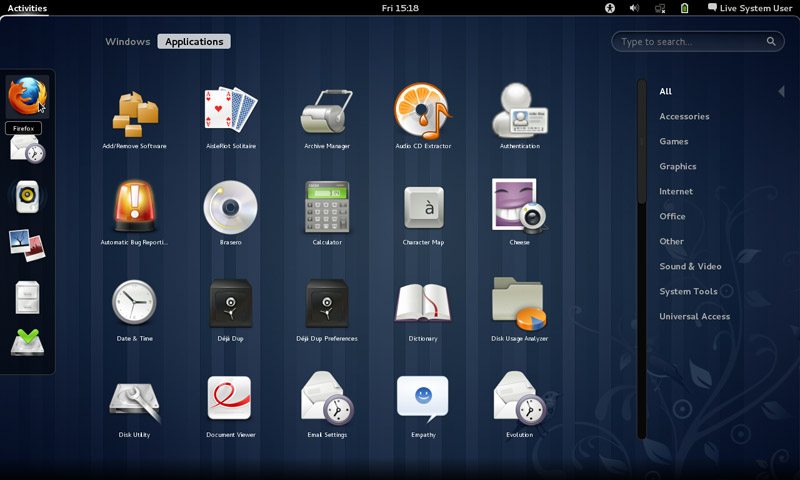
Coming to gnome I noticed that it still used the “ugly” login manager LightDM-GTK-Greeter. So I used the command to change the login manager to GDM, Gnome’s default login manager, that’s where the problem started!
As soon as I chose LightDM-GTK-Greeter and rebooted, I’ve been able to sleep and wake at will! No problem at all!
So that’s the fix! Install LightDM-GTK-Greeter.
First of all add it to the repositories via this command:
Then install it via this command:
Finally: Use this command to make it the default login manager.
sudo dpkg-reconfigure lightdm
My problem wasn’t “fixed” 100%. I was feeling bitter-sweet!
I fixed the sleep issue, and now the extensions remain after reboot too! But the login manager is hideous! Isn’t there a way to make it pretty?
Why is it hideous you ask? It was a part of the XCFE interface and when I removed it, it lost the visual elements it had and went back to defaults. And that’s not pretty at all!
Ubutu Tweak couldn’t customize it, and the Tweak utility provided by Gnome had no options for it.
The question remained: How to customize LightDM-GTK-Greeter?
It’s very simple actually! There is a package called: LightDM-GTK-Greeter-Settings. All you have to do is to install it. And use it to customize LightDM-GTK-Greeter to look better!
I began by adding it to the repositories via this command:
Then install it via this command:
sudo apt-get install lightdm-webkit-greeter
From the menu I ran it and it needs administrator rights so I had to enter my password to start it.
I had several options to choose from like theme and position and what tabs to be displayed. It looks so much better now and it gets the job done.
Not as pretty as GDM of course, but at least it works!

In addition to the sleep and wake bug fix, and the extensions staying enabled after reboot, the Gnome classic mode loads an interface rather than just a background with a mouse cursor, but it looks the same as Gnome. I’m yet to figure that out!

My fix to that was very simple, Installing Ubuntu Gnome 14.04.4 a fresh install.

Continue reading

VirtualBox NS_ERROR_FAILURE (0x80004005) [FIXED]

It’s a common problem of VirtualBox and I looked through tons of pages and didn’t find a fix, maybe because there isn’t? Good think I found a fix!!

That’s the error message:

Could not open the medium ‘/drive/username/partition/virtual_machine_name.vdi’.
VD: error VERR_FILE_NOT_FOUND opening image file ‘/
drive/username/Data/virtual_machine_name.vdi.vdi’ (VERR_FILE_NOT_FOUND).


NS_ERROR_FAILURE (0x80004005)

More details on the error:

Result Code:
NS_ERROR_FAILURE (0x80004005)
Component:
MediumWrap
Interface:
IMedium {4afe423b-43e0-e9d0-82e8-ceb307940dda}

It happened with me because I have the virtual machine on a different partition, and I started it without mounting it, that ruined the installation.

How to fix it?

I had to uninstall VirtualBox and install from scratch..

That’s the only fix, uninstall VirtualBox.

When you reinstall it, it should work fine, No need to delete the virtual machine.
Did you have this problem before? How did you fix it?

I know this didn’t “fix” the problem, and maybe you aren’t running Ubuntu and it happened with you.

I’ll post more if I found anything.
Did you find this post useful? If you have share it with your friends. Sharing is caring you know 🙂

Wiping free space to make the phone run faster

After updating a Samsung I9082 (Grand) from 4.1.2 to 4.2.2 it became much slower and restarted often. A factory reset was due. Even after the reset the phone was incredibly slow.

It remained slow and buggy for a while, until I needed to wipe some files for security. I noticed it became much faster after wiping the free space!


What is wiping free space?

Wiping free space is deleting the deleted files that could be restored by recovery software. It’s used to keep privacy and ensures data doesn’t fall in the wrong hands in case the phone is lost, stolen or even in the case of selling it.

What tools to use?

There are several tools available in the Google store to wipe the free space.

Andro shredder is one of them, it deletes files permanently and wipes free space too.
Sceure Wipe is another popular tool.

Wiping free space doesn’t cause data loss and it securely deletes data.

Did this fix work for you? Did you test it on other models? Please let me know what you think in the comments section below.

Windows 8.1 losing free space [FIXED]

After installing Windows 8.1 and doing all the updates. I was getting ready to create an image (in case anything happens) so I did the usual steps of cleaning and optimizing. Shortly after creating the image I noticed 12 GB of free space occupied!
Where did my free space go?

I had just finished cleaning it! Didn’t install a thing! Where did the space go?


I decided to use a handy tool called foldersize to determine where the largest folders were, and I wasn’t surprised when Windows was the biggest.
I went in and there was a folder called WinSxS which had 16 GB of size! That’s your culprit right there!

So what is WinSxS? And how does it work?

As it turns out Windows uses this folder to save backups and images alongside backup files (citation needed). There was no need to worry, as there is a monthly cleaning task scheduled that should take care of it.

But what if I want to clean it now?

Doing a disk clean (even enabling system files won’t get you those extra files you are looking for) you need to use the command line.

Run cmd as an administrator and type in:

Dism.exe /online /Cleanup-Image /AnalyzeComponentStore
To see how much space you have, only then you can get to clean by typing:

Dism.exe /online /cleanup-image /StartComponentCleanup 

Finally type in: 

Dism.exe /online /Cleanup-Image /StartComponentCleanup /ResetBase
Important notes:

  • These commands will take some time working, up to an hour, so take your time with the cleanup!
  • This might not work right away. I had to do it a couple of times with a restart. Then it cleaned it.


Warning: NEVER EVER TRY TO DELETE FILES MANUALLY. IT COULD RUIN YOUR COMPUTER AND MAKE IT UNUSABLE..

Any other space hogs?

Another place to look is the page file, if you want to set the size manually (or disable it all together) then that’s a good start!
Last thing to check is the hibernate file (which can go anywhere from 4-7 GB) and is completely useless if you don’t use the hibernation option. Check this tutorial to disable it.
We looked at three ways to taking back space that Windows occupied. I hope you find it useful!

Finally

How much did Windows take, was it more than 12 GB, share the space and let see who has the most loss!
If you liked this post share it with your friends, sharing is caring 🙂

« Older posts Newer posts »