Today we are looking at ways to improve your computer’s performance with simple tips that will optimize the performance and get the best out of the current hardware set..

First of all: Know what you have!
Saying that your computer is “fast” or “slow” isn’t very technical, since speed is relative depending on the user, so we need to see what are the specifications of your computer compared to what software you run.
Chances are that you know what are your computer specifications, which determine it’s performance, in case you don’t know or don’t remember, these tools will come in handy!
(Speccy Z).
This Free software by Priform will tell you exactly and in great detail what are your computer specifications, the free version comes without support but will do for now.

Ccleaner shows your computer specifications at the top of the program interface, it’s quite minimal but sufficient for the average user.
Now that we learned the computer specifications, let’s take a look at the operating system you have.
Common sense: Know your limits!
Every operating system and program has requirements that your computer must meet to ensure the system works without a hitch, there are three levels:
Minimum specs
If your computer is lower than these, than there isn’t much to do and you better look for another operating system with lower demands, sorry!
Required specs
If your computer meets these specifications then you are in luck and you can optimize it and tweak it for maximum performance.
Recommend specs
If your computer meets these specifications or a little more then this post isn’t probably for you, but who doesn’t like a little boost in the performance?
Having your operating system shipped by an O.E.M isn’t always a guarantee it will work properly, for example:
O.E.Ms shipped Windows 7 starter on Netbooks with Intel Atom single core with 1.6 MHZ of clock and 1 GB of RAM! A true disaster!
Now that we got the specs down, lets get to the fun part!
Optimizing on a zero budget
Here we are assuming that you are a home user and don’t use these programs for commercial purposes. If so please consider purchasing a license to share some of the profit you make with the hard working coders!
Fair warning! Create a backup, a system restore or a full computer image!
Most of the steps we are attempting here aren’t really risky (except a fresh install of Windows), but it’s better to be safe than sorry, I can’t miss a chance to remind my readers to backup before it’s too late!
Cleaning temporary files
Over time the temporary folder grows in size and expands causing your computer to run slow! You might wonder where did these files come from? And the answer is simple! These files are created when browsing the Internet, installing software, and by Windows itself. Cleaning those will free a ton of space and make your computer run faster.
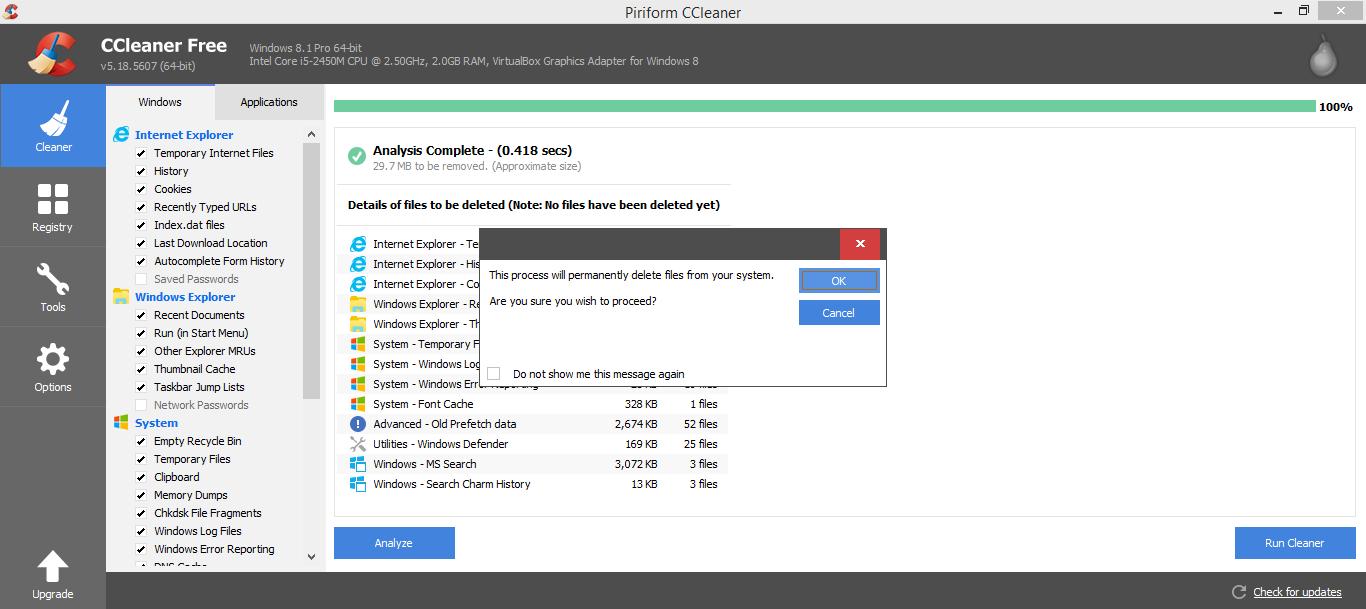
Again we are using Ccleaner to analyze the temp folder and the recycle bin before deleting the files, make sure to look at the results before deleting them, if you happen to delete something you need by mistake, don’t panic! Check out how to recover files using recuva!
Defrag
Defragging will help speed up the computer by organizing files on your hard disk physically, there is a built in defrag software that comes with Windows but I prefer to use Defraggler by Priform as it’s really easy to use and has more options to work with, you can download it from this link.
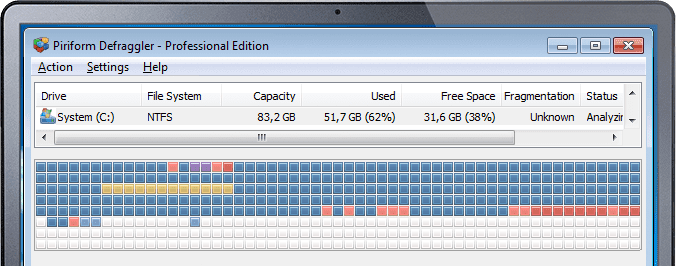
If you are using an SSD don’t, and I mean DON’T defrag your disk..
Pro tip: It’s better to defrag after finishing all your cleaning so you don’t waste time defragging files then wind up deleting them just like that!
Registry cleaning
This feature is one of the many features provided by Ccleaner, and it helps you to cleanup the registry from all the bad keys, traces of un-installed software and crud here and there, and always create a backup of the registry just in case (I never needed it, but you never know!).

Registry defrag.
You can find the full details on this method in this post I did sometime ago, but I think as long as you clean your registry often, the defrag isn’t really necessary!
Freeing up space from the partition that has Windows
You might not be aware of this, but putting a lot of stuff in your documents folder and on your desktop will make your computer slower with time!
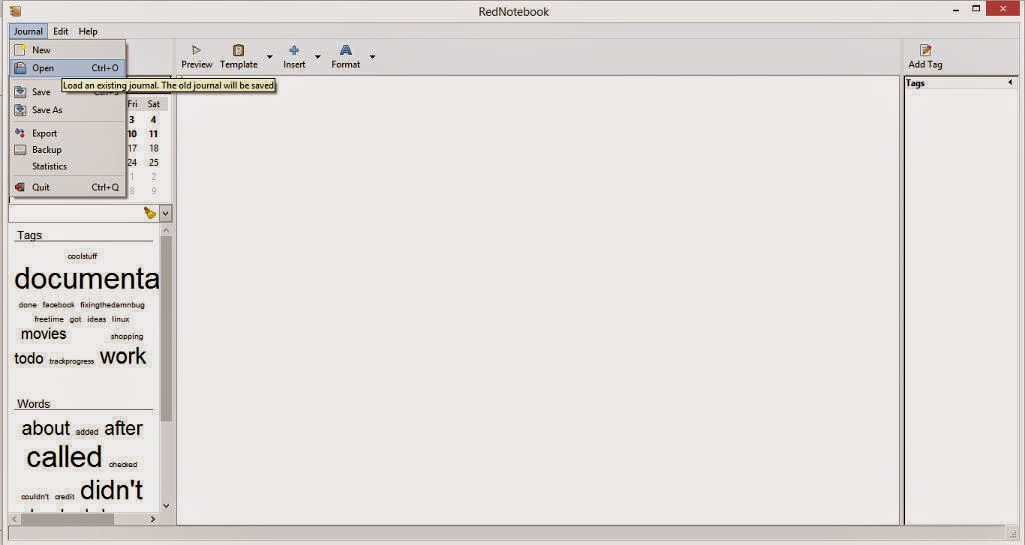
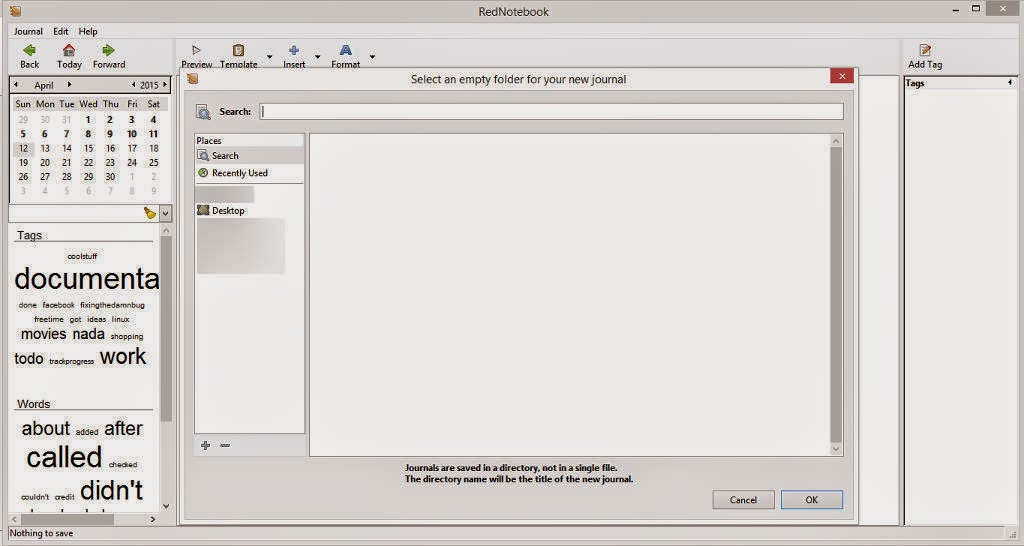
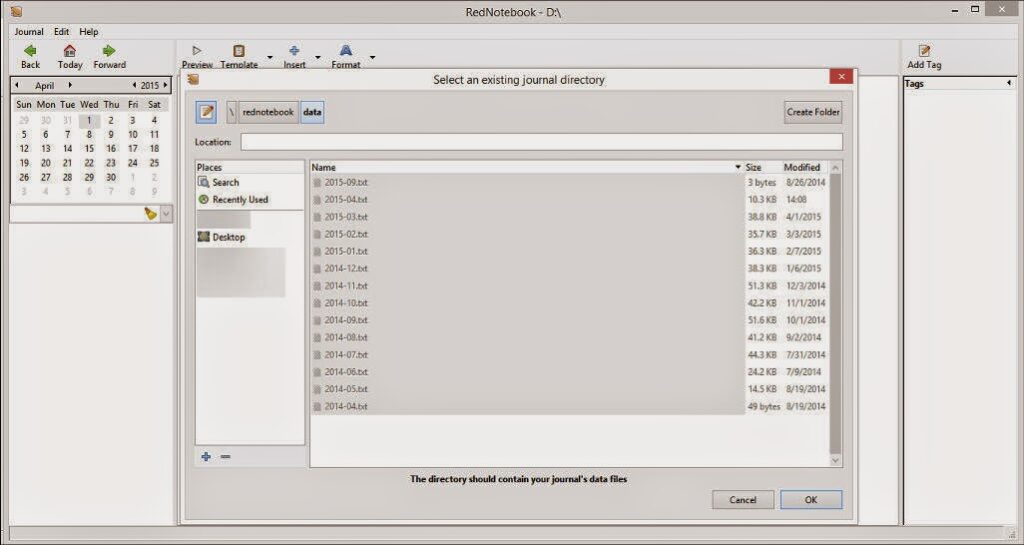
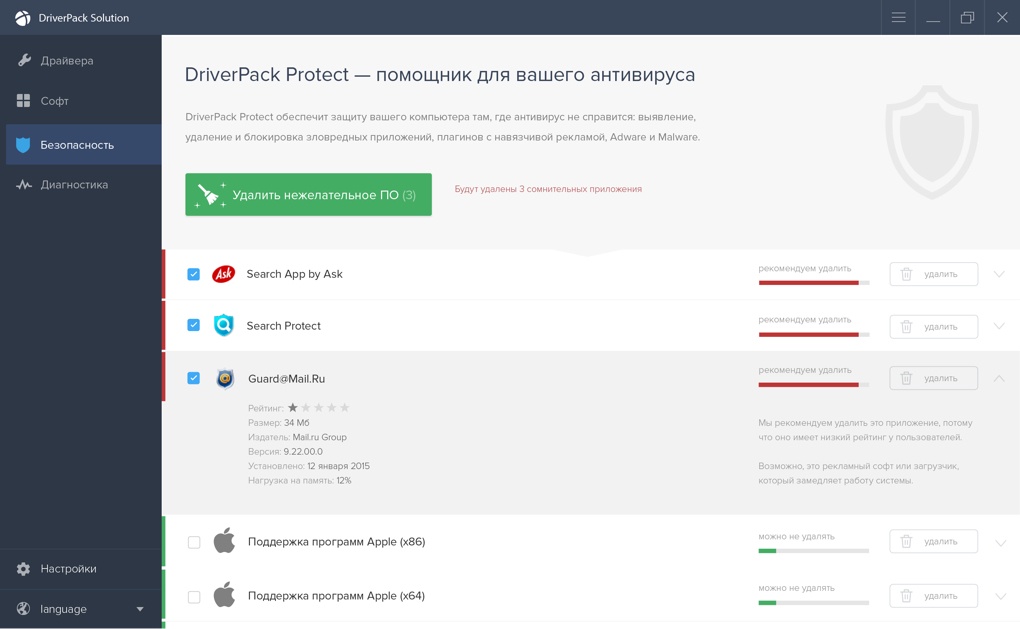
|
| I know it’s the same image, and there isn’t that much difference! |
Most of the computers I worked on had many folders and files scattered on the desktop, not shortcuts, Important work files and folders placed on the desktop! Some up to 100 GB worth of data! Prone to loss more than ever, as a format will wipe the entire C: partition with all of it’s contents, including the desktop precious files!
Why does Windows need the space?
Windows needs a lot of free space to work and function properly, if your drive has only one partition then you need to remove the folders and try (very carefully) to create another from the Windows provided utility, and it’s better to have your data on a separate disk anyway! A failed attempt will damage your system so have it looked by a techie (someone to blame when things go sour) 😉
Anti-Virus
This should be a given, but some people neglect having a proper protection suit and then wonder why the computer is running slow and crashing often!
A free package should do for most, but for added protection I recommend using a licensed product, Avast anti virus has an optimizing suit that does most of the aforementioned tasks for you, all you have to do is to click next! (After buying a license of course!).
Regardless of what you use, make sure it’s updated and scan any media you insert to your computer and run frequent scans of your system.
Monitor your RAM
If you have less than 1 GB of RAM I suggest you install a RAM monitor like Rampage, which sits in the background and kicks in action when your RAM drops below a predetermined value, say 32 Mbs, and frees up an amount of RAM so your computer doesn’t hang.
Use the Task manager to see what’s hogging things up
When your computer hangs and acts slow it’s a good idea to call the task manager by pressing CTRL + ALT + DEL and seeing what’s the process that’s taking the most RAM or not responding, and dealing with that. Famous RAM hogs like Firefox shouldn’t be installed if your computer has less than 1 GB of RAM.
Unloading dlls from memory
This tweak is a little advance, and you will find detailed steps in one of my earlier posts, what it does is that removes the DLL files out of the memory once the program is closed, it can make your computer a bit unstable, but a ton faster!
Startup programs
If your computer takes a long time to boot and be ready to work, then you have a startup issue, you can look at an older post I made using a tool that measures your startup time and tells you whats making your computer slow to boot.
Many tools you installed and don’t use very often are still starting up with you without knowing they do, and each one on average takes 3 seconds of boot time, that may not sound like much to you, but trust me, it is!
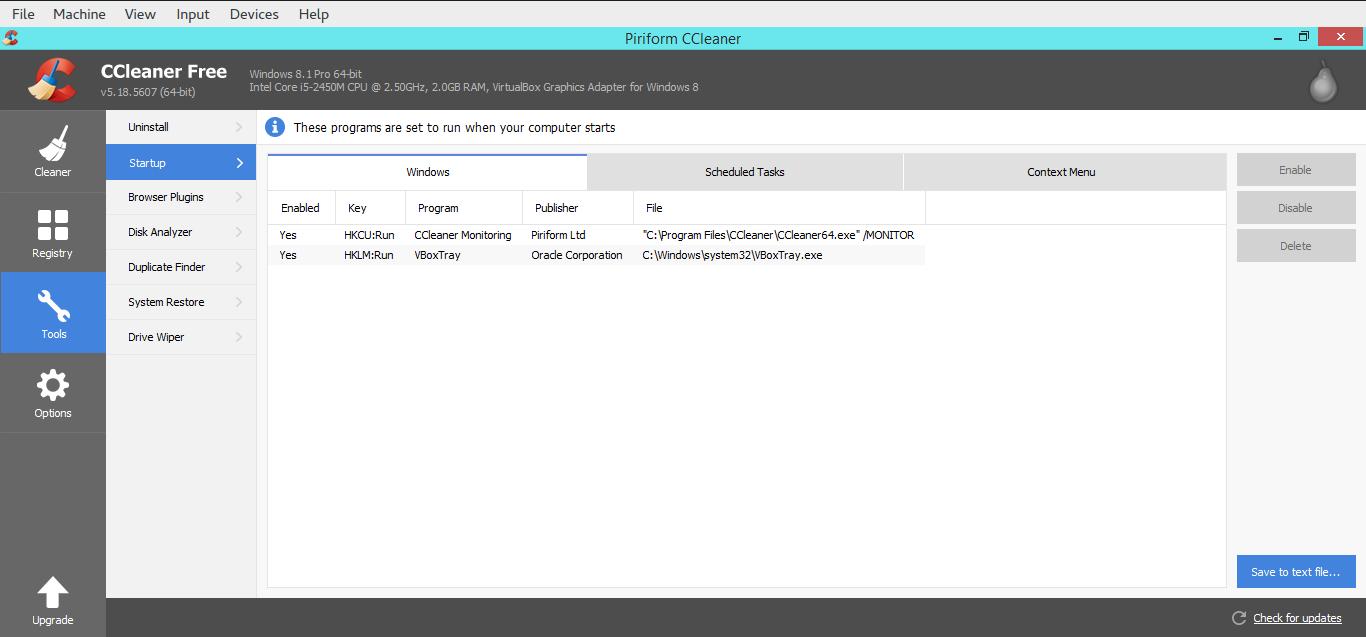
I prefer to use Ccleaner again (which has been download 2 BILLION times according to priform.com), simply disable any tool that shouldn’t start with the system (leave the anti virus running) and anything else you need start manually.
The task manager can help you disable the ones you don’t need and even determine the impact it has on startup!
Driver update
Updating your drivers will improve your computer performance in theory, if it doesn’t you can safely rollback your old driver and that be it! The update can be done from the drivers under system management, but if the update isn’t available you can always try the 9 GB driver disk available on-line for free!
But what if all else fails?
Clean install
A clean install (a format) would be a good option if all tweaks failed with your computer, I posted earlier about the benefits of clean installs, you might want to check that out! Just make sure to remove the license first then return it ( I also blogged about this) or use the new options in Windows 8.1 and 10 to refresh the computer, this option will delete all settings and files so be really careful before taking this step and create a full backup of your data.
Installing Gnu Linux Ubuntu
Installing Ubuntu in itself is a tweak! Installing Ubuntu will get out the hidden potential of your computer, you will be able to do your work smoothly and flawlessly, just make sure to choose a flavor that fits your computer’s specifications, and you are good to go! All of the steps above aren’t really necessary if you run Ubuntu! And if you like to clean your computer then use BleachBit the way you used to use Ccleaner! And it’s not that necessary either!

The only draw back is that the battery performance decreases a bit compared to what it did on Windows, feel free to use TLP and powertop which I blogged about some time ago to juice some more power out of your battery! And if you use a PC then all you have to do is to install Ubuntu and start working as it comes bundled with everything you need right out of the box!
That was the first part of the post, zero cost optimization, now lets look at the second part where you have some money to spend (not enough to buy a new computer) and feel like upgrading your computer, I’m not going in too deep with the upgrade scenario because this is guided more towards laptop users so you have a minimum room for improvement, as a PC user you can do a lot more upgrading!
Adding more RAM
It’s the first upgrade everyone thinks of, and it can be a huge relief to add more RAM to your computer, make sure to buy the right kind and size, and it’s better to take it to a service center to have it upgraded there. Some laptops have one slot, meaning you will have to throw out your old RAM and add the new one, others have two slots meaning you can add another to double your RAM.

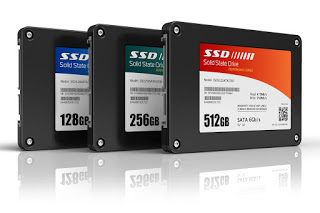
Installing a Solid State Drive (SSD)
SSDs are a wonderful light weight disks (not hard disks) that are used to store your data, and by installing one of them you gain these advantages.
Benefits of installing an SSD
- Since they are much faster at reading and writing data, your computer will boot faster and your programs will start much faster too! (Compared to a regular HDD).
- They require less power to work, so you will save power and your battery should live longer compared to using a usual hard disk.
- Since there isn’t a mechanical part inside there isn’t much noise to them.
- They will make your computer lighter in weight, even if it’s just a little but it helps!
- And it will live longer than the usual Hard disk, up to 10 years according to the manufacturers.

Sounds too good to be true? Well, these benefits don’t come cheap! And like everything there are some disadvantages to take care of.
Disadvantage of SSDs
- One thing is that they cost much more than the good’ol hard disk we are used to, so much that a 128 GB SSD can cost as much as a 1TB HDD!
- They come in smaller spaces, and even smaller after reserving space for partitioning (takes about 20% of the total size).
When buying these look online for the best deal, some are as low as 39.99$ but you need to look for what’s best for your needs and not the cheapest! Also check if your computer accepts the SSD upgrade, a little trip to a service center should do!
They cannot be defragged!
Do you enjoy defragging your computer every now and then? If you do then these disks aren’t for you! Defragging an SSD would increase the wear rapidly on the disk and shorten it’s life.
If you have an O.E.M windows or fear that you will lose the license once replacing the hard disk, don’t worry! The license isn’t tied to the hard disk!
If it’s an O.E.M it’s tied to the B.I.O.S and therefore it’s reserved, check the Acer repair post for details. And learn how to Transfer the license of Windows easily from here!
All and all, if you don’t have an SSD I suggest to do your research before deciding to invest into a new one.
Maybe your computer needs more RAM, maybe it has a lot of RAM but it needs a new SSD, and maybe you need them both. Have someone look at it before you buy.
Final words
With these tweaks, optimizations and upgrades. Your computer should be running smooth as milk! No more excuses!
I recommend to clean the files, the registry and defrag weekly, and not less than a month so things don’t build up and slow your computer down!
So how did you like this post? Do you preform these optimizations regularly?
And if not, will you start doing these more often? Please let me know what you think below and share this post with your friends and family.