I’ve been following the Windows 10 hype since it’s been rumored to be named Windows 9. And I have covered many news and opinions about it, including the release date and the debate of it being free or not.
As Windows 10 arrive today I decided I deserve an early taste, after all I might not get it for months! Who knows when my “turn” will arrive? I also wasn’t too keen about downloading from the Windows Update and have been vocal about it!
While browsing the Windows 10 news I came across a Reddit post that claimed to have “Clean ESD” for installing Windows 10. (ESD stands for Electronic Software Delivery). I had to make sure so I posted in the Microsoft answers site and it was confirmed to be “legit” so I got to work!
Difficulty: Medium
Approx time: 2 hours, download and convert not included
The Download
The most important thing is to choose the correct esd for installing, or else Windows will not be upgraded or activated, and it will be treated as a clean install!
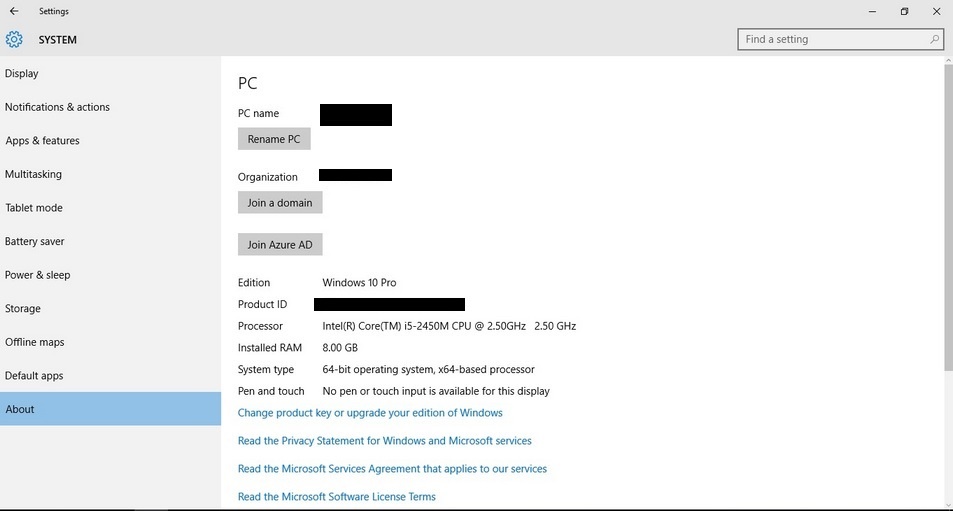
You can find your version from system properties.
Download the ESD to your computer, it’s a 2 gigabyte download or more depending on what version you choose, mine was 2.6 GB (Windows 8.1 Pro 64 Bit) and it took nearly 7 hours to download (I’m grateful the Internet and the -electricity weren’t cut during the download) and the download is resume-able. And use a download manager for best results!

The conversion
The ESD file I downloaded is optimized for size, download speed and protection. Which means it can’t be used to upgrade or install Windows 10, so we have to convert it to an ISO and use the ISO to install.
For that we are going to use a utility called ESD Decrypter 6 (Using previous versions will result in errors, so please stick to this version) to convert the ESD to ISO. You might want to deactivate the Anti-virus before beginning!
Download and extract it in the root of your system drive, I’m going to assume it’s C:
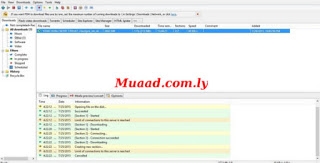
Just drag the ESD into the CMD script and you will see this window.


Press 1 and enter and wait for the process to end (might take about 20-30 minutes and will stress the PC a little bit).

You will find the ISO in the Decrypter folder, move it to a root location so you can find it easily for our next setup.
The Burn
Now we are putting the ISO on a USB so we can use it to upgrade, you can put it on a DVD as well but it will be much slower and a lot nosier! Plus I used a USB so that’s that!
I have made a tutorial a while back on how to Put Windows 7,8 on a USB. It’s exactly the same using Y.U.M.I. Even when choosing the system choose Windows Vista, 7, 8 ISO because it’s the same!
There are other ways of course, Microsoft has it’s burning utility and Rufus received tons of reviews. I’m sticking with Y.U.M.I for now!
The process took about 10 minutes, then the USB was ready for the upgrade.
Here you are advised to stop! Make sure you made a backup of all your data, create an image of your system, because things are about to get serious!
I also recommend you connect your laptop to power so it doesn’t power off during the setup. And if you are running a PC use a UPS so you won’t get disconnected!
Upgrading Windows 10
The upgrade to Windows 10 means keeping all your programs, settings, and files while changing the system. In plain English you won’t lose a thing even the things in your recycle bin if you do it properly!!
Please note that the process can take a lot of time and will restart several times, also your computer won’t be usable during the setup so save all of your work before continuing!
Click on the setup icon inside the USB to begin the install, a splash screen will appear.

After that Windows will check for requirements.

Then it will ask to download updates.

Will check for free space for what seems like an eternity, as Windows 10 needs 16 GB of free space.
This is EULA (End User License Agreement) feel free to read through then click agree.

The most important menu is the “Choose what to keep menu”, from here you choose keeping your data and settings. Choose the first option to keep your stuff!!

Windows will check for somethings again, making sure you are ready to install yet again!
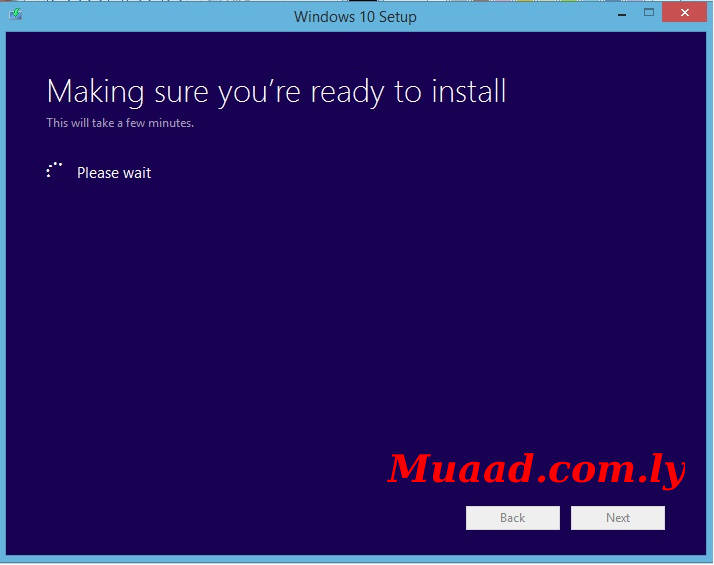
From this Window make sure that you choose correctly, and if there is any doubt go back (You will wait again all the times tho!).
If you are sure you want to install click Install.

Wait for the install to finish (reaching 100%) and the computer will restart for the first time in a series of restarts.
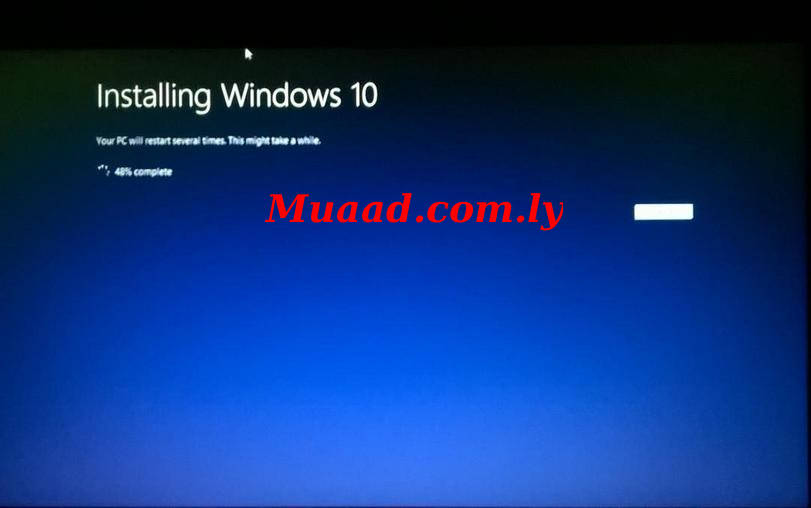
And Your input is done! Just wait for it to end! And from this step forward I’ll be posting pictures rather than Screenshots because the system isn’t usable anymore!
The Fun Part
Windows will attempt to scan and repair the drive, you can skip if you like, but I recommend you complete the scan.

After that, this screen will appear, notice the lines below the circle. The first “copying files” is highlighted. After it’s completed it will restart again.

Now the second one is highlighted, installing features and drivers. After it’s completed it will restart again.

The third and final is configuring settings. When it’s done it won’t restart.

but it will take you to the log in screen. You will notice that your login image is still the same. Type in your password (the same one you use) to log in.

Click use express settings to progress to the next menu.

Then Microsoft will tell you of the new apps it has added to Windows 10, click next to continue.

“Taking care of few things”

“This won’t take long”

And you are done!!
After the install
I had some issues tho, if you see the first screenshot, you can see that the resolution is off, because the video card driver wasn’t installed! (After all that pain!) And the boot was slower!

Meaning that the brightness increase/decrease key won’t work, and I couldn’t do a standby!
Also the Wireless wasn’t installed, which means Windows wasn’t activated right away! this was easy to fix, follow these easy steps in here to fix it. And I was able to activate just by clicking activate from system info!
I noticed that the battery’s performance was affected heavily as well!
Shortly after installing the Wireless card I was informed of a one gigabyte upgrade, possibly known as the Day 1 patch.

I installed it and restarted to find that most of the problems were fixed. Display, Wi-fi, battery performance. This is the final screenshot.

Activating Windows 10
Extra notes
What happened to Windows 8.1?
It was packed to Windows.old on the C: and if you plan on testing it with the hope of rolling back then DON’T DELETE this folder, you have one month to roll back before it’s deleted on it’s own so take note.
My dual boot (GRUB) wasn’t affected by the upgrade at all! And I didn’t have to do a thing to it!
Final words
It’s too early to decide if Windows 10 is good or not! It has some neat features that I need to sink my teeth into fully before making a verdict. I’ll be sure to post it here.
Have a lovely day, leave your comments here so I can see them.


Leave a Reply