Today we are putting Linux on a USB! Really easy and very important!
As we said in the Acer Netbook repair post that we will post about making bootable USB for Windows and Linux. We are using the same method we used to put Windows on a USB. Only this time, it’s much easier!
That’s because most Linux distributions are downloaded off the internet as .ISO files, no need to use Infrarecorder to change them!
I have to admit! I based this article on a previous post. Only because it’s THE EXACT SAME WAY.
Steps to make the bootable USB:
For this step we are going to need a software called YUMI. (Your Universal Multiboot Installer ) Also free and can be downloaded from Here.. I found this to be the easiest way around when it comes to burning ISOs on a USB. And it can add many ISOs on one flash! So it’s efficient and easy!
1. After the download run the setup and click agree.

2. From this window select the USB drive you are going to use.
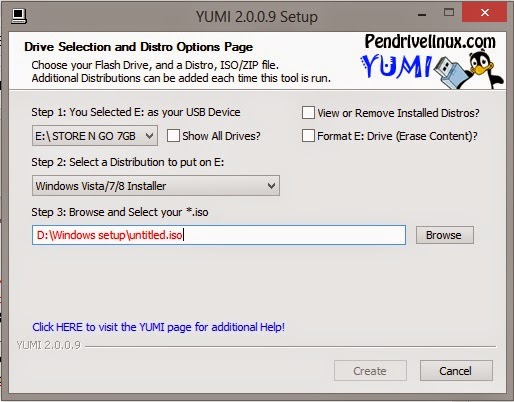
A. Select from the drop-down list. It has many Linux distributions and many live CDs too. Scroll down to find the distribution you chose, for example: Ubuntu
B. Browse for the ISO we downloaded, note that the name of the ISO will be the name in the boot menu.
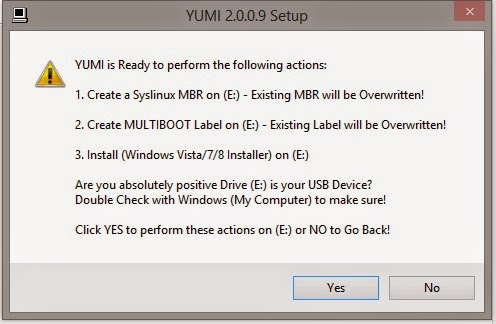
3. On the warning menu choose yes (will format the USB so double check)
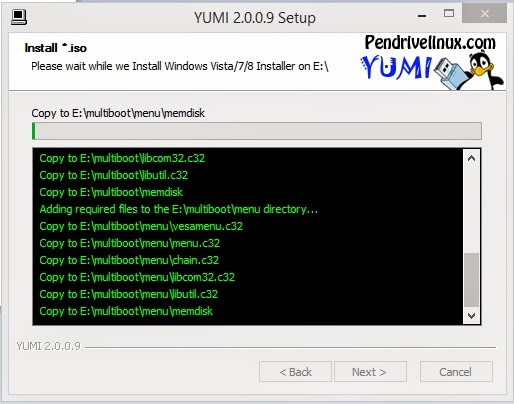
4. You will see the progress windows copying all the files to the USB.
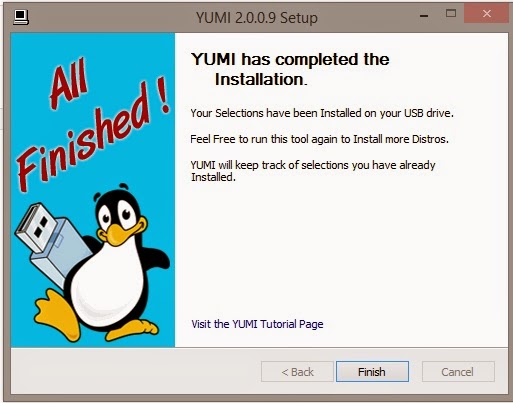
5. Wait for a few minutes and you are done!
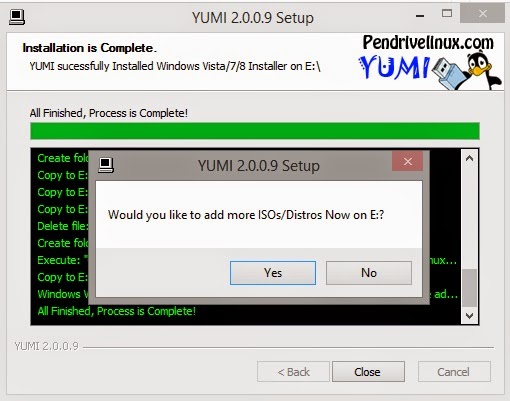
You can add other ISOs using the same steps, or remove them if you like!
6. Yes will reopen the selection window while no ends the program .
7. After you are done, make sure to back up the data on the target computer. Reboot it and select from the boot selection menu ( Usually accessed by F12, can vary depending on the bios ). And continue form there 😀 .
That was it! Pretty easy isn’t it? I hope you enjoyed it as much as I enjoy making it 😀
Please feel free to leave your feedback.
This post will be mentioned in my next post! Stay tuned!
Have a nice day 😀