Category: Ubuntu Gnome 16.04 (Page 3 of 4)

How to fix and prevent the /dev/sda1: recovering journal On Ubuntu 16.04 Gnome

As I was booting my computer up one morning I saw this awful error message rather than the Ubuntu Gnome boot logo, it turned out to be a common error and can be fixed easily, let’s get to the details!

/dev/sda1: recovering journal

Cause of the issue

The problem occurs when the computer isn’t shut off properly or when electrical failure happens, some data on the SSD

isn’t stored properly and the boot process is halted.

In my case it’s the power issues that ruined my laptop battery and is making it’s way to my data stored on the SSD. 

How to fix it

The screen itself suggests a terminal command to fix the drive which was useless in my case, my easy fix was using a live Linux installation from a USB -I used Linux mint- and used Gparted to fix the damaged drive (please note that using Gparted can be very risky and cause data loss). 

Using Gparted from a live distro

We are using Gparted to fix the partition, it depends on how you did your disk but it’s the same way.
Entering the password to run Gparted.
Opening Gparted


  Viewing a list of disks on your computer.

View disks with Gparted


 Checking the drive for errors with the right click menu.

Checking the disk for errors using Gparted

We now click Apply changes.

Applying changes using Gparted
After applying changes we can safely reboot, the fix is done!

Making sure damage didn’t happen

ِAfter rebooting the computer will open as usual, but we want to make sure that the drive wasn’t damaged, to do that we will install a small command line tool called Smartmontools 6.5 and it can be downloaded from this link.

Installing Smartmintools-6.5

Samrtmontools is a terminal utility
to check and monitor disk performance. 

To install Smartmontools we need to un-compress the tarball and we do this from the terminal

  tar zxvf smartmontools-6.5.tar.gz

The previous step created a directory called smartmontools-6.5 containing the code. Then we go to that directory, build, and install:

 cd smartmontools-6.5

  ./configure
  make
  sudo make install

After running these steps we managed to install Smartmintools-6.5 tarball from the terminal.

Running Smartmintools-6.5

Run the command:  sudo smartctl -a /dev/sda. And if the results are like the the screenshot your drive is safe, as it says clearly: No errors logged.


How to make the fix automatic on every boot

Instead of performing the fix every time the issue happens, it’s easier to set the config autofsck to run at every boot. 


Edit the file etc/default/rcS and change the FSCKFIX from no to yes by using this terminal command:


gksu gedit /etc/default/rcS
Here it opens a gedit windows, navigate to the last line.

Editing /etc/default/rcS

Change the FSCKFIX from no to Yes and save to finish.

Editing /etc/default/rcS

This way every time the issue occurs the system will automatically fix it and continue booting normally. 

This is how to fix and prevent the /dev/sda1: recovering journal on Linux Ubuntu Gnome 16.04 and similar distros, it’s really easy to fix but it can be scary and ruin a day for you if you don’t know what to do.
And I highly advise you to backup whenever possible

My 3 year journey with GNU Linux

Linux has been around for 25 years! Last week the world celebrated the 25th anniversary since Linus Torvalds wrote the Minix kernel.
I’ve been using Gun/Linux based operating system as my main OS for three years now, and it’s been very rewarding! In this post I’ll talk about a journey with GNU/Linux and how it turned into what I use on daily basis and feels right to me rather than the new interesting idea I saw in a tech magazine!

My beginnings with Linux

Although I learned about Gnu/Linux over ten years ago (thanks to the wonderful LTT magazine) I didn’t fully convert to open source until I graduated from college. We depended on Microsoft based products for school such as SQL server and Visual studio, which were essential softwares for a computer science major and I couldn’t risk converting to Linux and messing up my school work so it had to wait, I was itching to get rid of Microsoft Windows and start fresh with an all open source system.

Even then I relied on open source software to do my daily tasks such as Gimp and Apache Open office (LibreOffice came into play in 2011) and the only proprietary software was Windows itself. Once I graduated it was time to kiss Windows good bye.

My Windows setup

My computer had Windows 7 installed on it and I have to admit. It was running like a charm!
I had everything I wanted and had the system fine tuned and optimized to my liking. I downloaded tools and learned how to harness their power to the max, I even blogged about it here on this blog at the time.
But I was willing to give all that up for the sake of open source! Apparently I don’t have a problem of fixing what doesn’t need to be fixed.
Research.
Before converting to Linux I did a lot of research and took my time looking for the best alternatives for tools I used daily, luckily many tools are cross platform and open source so these were a given like VLC and Firefox.
I also took my time testing it as a live version and I even installed it under Windows as a software (older versions of ubuntu supported that).
I didn’t do much distro hopping, I liked Ubuntu from the start and still use it until now.
Distro hopping is one of the major criticism points GNU/Linux receives as people say there are too much distros out there for a person to try and it can be confusing and counter productive.
I have a theory about that!

Distro hopping

Linux is all about freedom and you can try what ever you like, it would be a good idea if you used a virtual machine to test so you don’t ruin your HDD with the excessive installation and removal of systems.

Preparing to convert

After I listed my software and got the alternatives (executor wasn’t ported to Linux) I decided to install Zorin, built on Ubuntu and came fully featured with everything new comers to Ubuntu needed. 

Zorin-Os-7
The Linux gateway for Windows users.

From flash support and restricted extras all the way down to Wine and Playonlinux to make sure your tools from Windows didn’t go to waste.
It looked and behaved like Windows 7 and I didn’t like that very much. Trying to change it messed it all up and nothing worked, not even installing it fresh?! I was a beginner and didn’t know what to do so I decided to move on to something new.
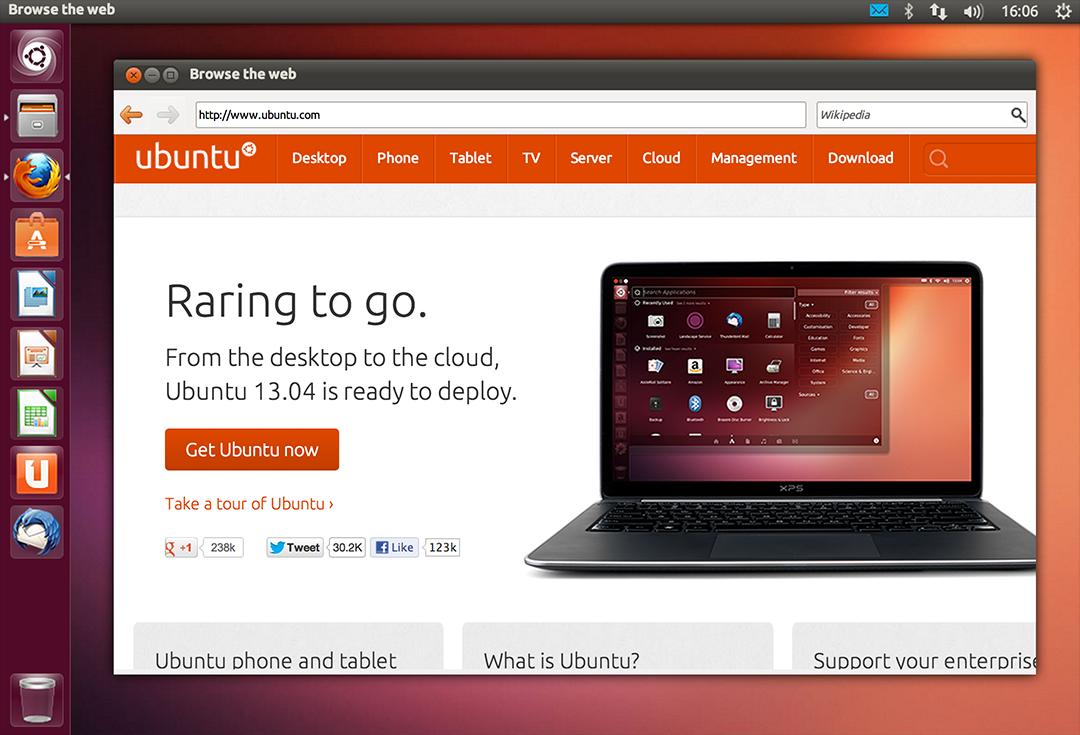
Installing Ubuntu

So I installed Ubuntu 13.04. It was really good and got even better when I added xfce interface, while googling for it I learned that latest version of Ubuntu won’t be released for another 2 months, and was going to be an LTS (long support version). 

At the time I had a separate laptop for work and I didn’t think that was really productive!

My first LTS and dual booting

As soon as Ubuntu 14.04 was out I got it and installed it clean, I chose the Xubuntu version because I enjoyed the XFE interface.
It was the best time ever getting to know the new distro and customizing it to my liking.
I had to install Windows for work. And since I gave away the work laptop I decided to dual boot Windows 8.1 and Xubuntu on my computer.
I used Windows to work and it was a good solid experience with the metro interface, but I didn’t feel home until I restarted and went to Xubuntu, I sighed in relief as I saw the loading screen knowing that I enjoyed working on this system and I wrote a list of reasons why.

My interface revolution

After a while I felt I needed a change, so I began testing  with different interfaces until I  decided to go with the Gnome interface, but my “home brew” distro was buggy. I was delightfully surprised to know that there is a project where Gnome was used as the interface for Ubuntu (Ubuntu Gnome) and I downloaded it and installed it right away after a successful trail on a virtual machine. It was the end of the dual boot period for me.

Settling down with Ubuntu Gnome

I got Ubuntu Gnome 16.04 as soon as it got out and I couldn’t be happier! I did a review about it here on this blog which proved to be a total success! Hundreds of readers tune in every month to read this tutorial which I keep to update as often as I find new things (I use the same principle all over my blog).

Windows is residing now on the virtual machine, I use it every once in a while.

The 1% percent dogma and the “Personal computer failure”

Many people claim that GNU/Linux failed on the personal computer with user share just above 1%. While it remains to be a success in the server and super computer department.
Just for your information, GNU/Linux’s user share has exceeded the 2% barrier in July.

And to be honest I never really cared for those people’s opinions anyway, I have a system that is well supported, totally free and I get the job done just as good as I did on Windows based systems (and maybe even better) so why all the fuss?

I love Linux, and so does Microsoft!

I could sing the praises of Gnu/Linux and open source on and on and totally miss the point, I enjoy using and contributing to open source, and I don’t have a problem with Microsoft based software, I think it’s really good!

Microsot loves linux
This image is still strange to me!


Gnu/Linux has came a long way from it’s humble beginnings and it’s a force to be reckoned with in the computer world today, even Microsoft has showed it’s love and support and there is a lot of cooperation between Canonical and Microsoft (it doesn’t necessarily make me happy, but times change).

Final words

A long journey of exploring indeed.  I didn’t do it by the book and I took my time experimenting with things and making my mistakes along the way. But I’ve settled into my system and it feels great!  I wouldn’t have it any other way! Much like life itself.

How did you like this post? Are you using open source or thinking of converting to it anytime soon?
Drop a line below and let’s see what we can do 😉

P.S: I have reached 110000 views on my blog 🙂

A Pomodoro Timer for GNOME

Using a timer is essential for productivity and fitness using a computer, as it helps you maintain focus and mental agility. Let alone preventing RSI which is a serious issue that affects computer users worldwide.

Timer apps on Linux

There aren’t many good timers for Ubuntu, but this one is clearly different!  
I tried many timers for my productivity use like the timer dockelt on Docky and world timer, I also tried RSI Timer,  but something always felt missing! 

Pomodro timer

Pomodro timer is the best of the bunch. 

Availability

This timer for Linux only as it supports several distros like: ArchLinux, Debian, Fedora, Gentoo, OpenSuse, Ubuntu and more.
It integrates with the interface and works nicely with the notifications. *Gnome only currently.

Work Flow

It’s a must have as it supports a whole work session without the need of manual interfering. It’s better than Gnome clocks which sets one Alarm and the program Alarm that needs a lot of configuration. It’s almost as good as instant boss. Supports productivity and efficiency. While keeping you aware of moving and taking frequent breaks. 
I’ve been able to work it into Ubuntu Gnome 16.04 and it’s been working like a charm, even making use of the notifications, very nice!

Download

It can be downloaded freely from the site for many Linux distributions (Linux only), to download go to the site and scroll down to download. 

It runs perfectly on Ubuntu Gnome 14.04.4 and Ubuntu Gnome 16.04 without a problem.

Did you like this timer? Will you be downloading it? Please let me know what you think in the comments section below.

Batch install downloaded DEB packages on Ubuntu

Today’s post is a re-write of “How to add downloaded packages to Synaptic Package Manager in Ubuntu 13.04” because I had to install packages Offline when I was fixing my brother’s computer. And something wasn’t right!

In that particular case I installed Ubuntu 14.04 twice in the same week so using the same packages to update was probably the right thing to do to save time and data plan.

Anyway based on my recent experience it will be much more clear. And I added pictures too! Synaptic is a GTK+-based graphical user interface for Advanced Packaging Tool (APT)—the Package management system used by Debian and its derivatives. Synaptic is usually used on systems based on deb packages but can also be used on systems based on RPM packages. (Source)

We are using it today to batch install software on Ubuntu, and you must take note that it’s a powerful tool and can potentially harm your system. So take care. You are going to need admin permission to access Synaptic.

Also don’t install anything you don’t trust! Be careful because now the program has admin permission to change your system!


After we took a look at the warnings, let’s take a look at the scenarios:
You are an Ubuntu admin and you have 10+ computers. And you need to install the same software on all 10 computers. So instead of Connecting them all to the Internet and downloading the same software. Connect one of them and download the required software. Then install it on the rest.

You just installed Ubuntu on a machine and begun to download software. But the Internet is really slow! (Third world problems) so you take the programs on a USB from another computer and get to work!
You have a limited data plan and you are trying to save!

No matter what was the situation. It’s a handy trick and you will comeback to this tutorial over and over to read it!

First of all. Let’s prepare the software.

You can either use the software center cache. Or any random .deb packages you have. (Or both)

If you want to copy the software center cache then go to the directory:

“Computer/var/cache/apt/archives” where “computer” is your system partition.

This is a system folder so you can’t cut or delete any of these packages. And if you copy the .lock file or the partial it will result in copy error.

Remember where you put the packages and the folder name as we are going to need that later.

Open Synaptic and enter your password. If you don’t have Synaptic you have to install it. Say from the Ubuntu Software Center.


Once you opened it you have to confirm that you are online. I can’t stress this enough. And it won’t work if you aren’t connected to the Internet.

You can confirm that by reloading package information. If it downloads package information without problem. Then you are good to go!


Paste all the packages in that directory, in this tutorial it’s called “New Packages”.

Click file Add downloaded packages.


You will see a browse dialog., use it to navigate to your folder.

once there click open.


Wait a moment for the packages to add. It can take several minutes when adding a lot of packages.

Click Apply and Synaptic will tell you how much packages will be installed. The size of install and how much it will download.

Wait for the progress bar to end.


Then click close to finish installing the software.

This way we installed a batch of software as we would install a single one. Without re-downloading them again!

Pretty handy isn’t it?

« Older posts Newer posts »