I have been using Ubuntu Gnome for over a year now, and it has been great, there has been some bugs here and there that I could work my way around, but it got really out of hand lately so it was time for a change!
Disto hopping
I admit, distro hopping is something I am guilty of; you get to try many distros and interfaces very easily, and it is criticized for being counter productive and a total waste of time and resources, but that’s not always the case, it’s sometimes you need to take a step back to keep going forward.
Reasons why I left Gnome
The corner jester that summons the work spaces in Gnome isn’t really productive, and the Gnome classic mode isn’t very “classic”, I couldn’t achiever the level of productivity I strives to archive.
Other choices to look at
So I started to look for an alternative that isn’t “Gnome based” and that left me with few options! Many popular interfaces are built on Gnome and I believed that the problems will tag along.
Unity isn’t even an option on my list because I don’t like it! I’m glad there is a choice in the open source world, so I decided to try Kubuntu for a change, and to get rid of my issues.
Kubuntu has a support cycle of 5 years, perfect!
Going for Kubuntu
I downloaded Kubuntu as usual by a torrent because it’s better for the network and my pocket, and it took a lot as usual (7 hours).
Installing Kubuntu
Installing Kubuntu was easy, same as the usual installation of Ubuntu, and it was up and running in a few minutes.
Interface and user experience
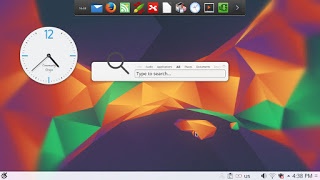
The interface on the other hand is completely different from Gnome, and I instantly remembered Windows because of the menu and the bottom panel, Kubuntu is aimed for an easier user experience, I think they meant it was “a windows like experience”.
It’s even has an Aero peak like feature, when you hover the mouse over a taskbar program and you see a preview of the program running in a box.
So far the experience is smooth, but it’s different from all the interfaces I used before, and the default applications are also different from the gnome/unity bunch.
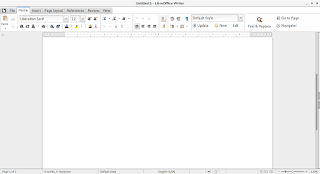
Of course KDE comes packed with tools that start with “K” like Kedit and Knote, I’m not ready to give up Zimwiki for example so some of these K tools had to go!
I have a tip for you: If you copy and paste terminal commands from web pages, you are going to have to change Gedit to Kate, so you get your commands up and running 🙂
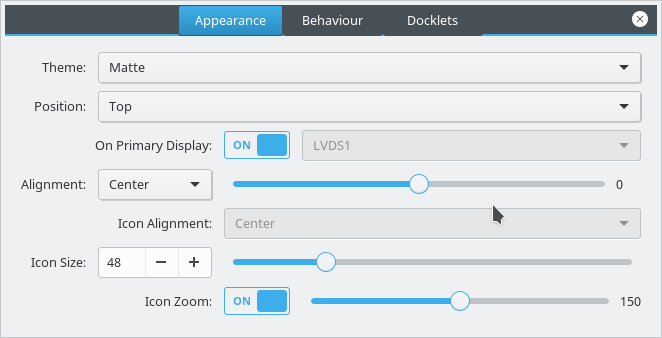
The Widgets are interesting and really give a larger scale for customizing.
While the software center is a bit, different!
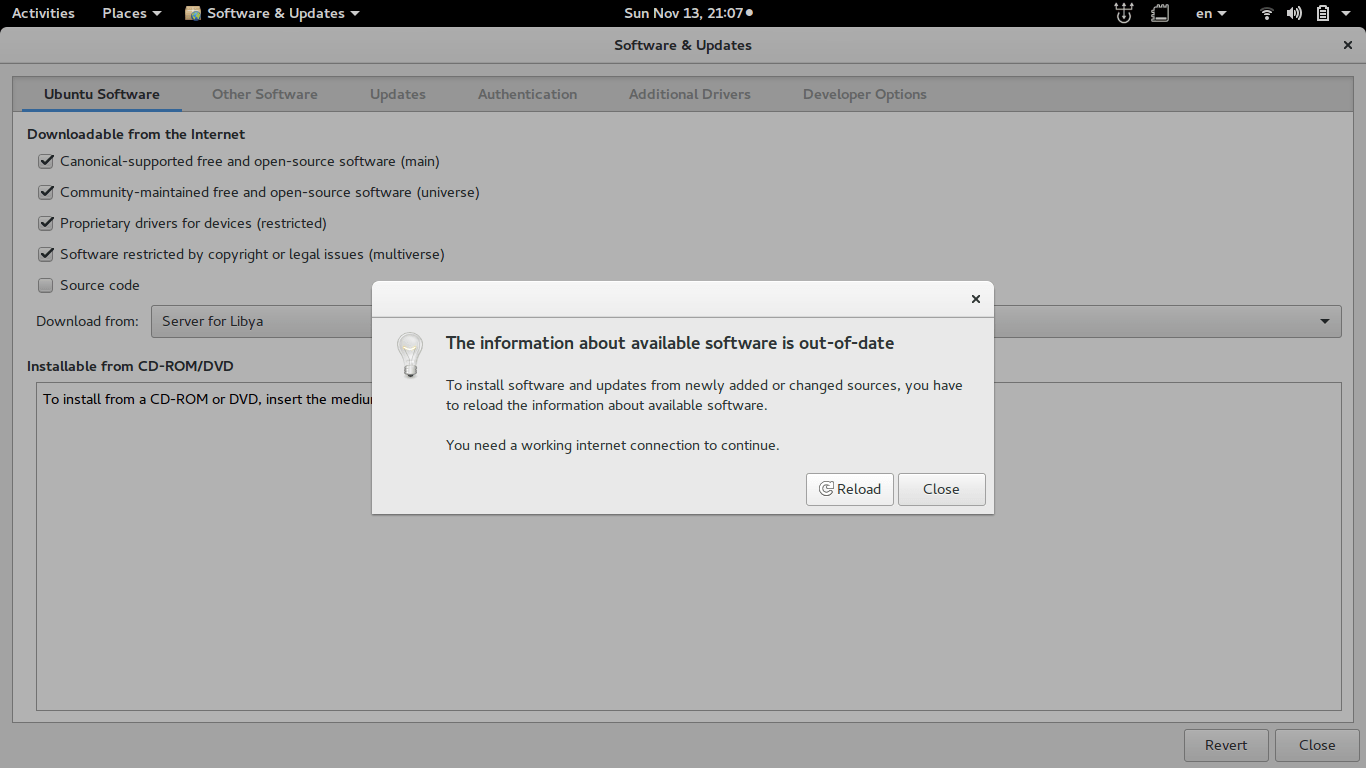
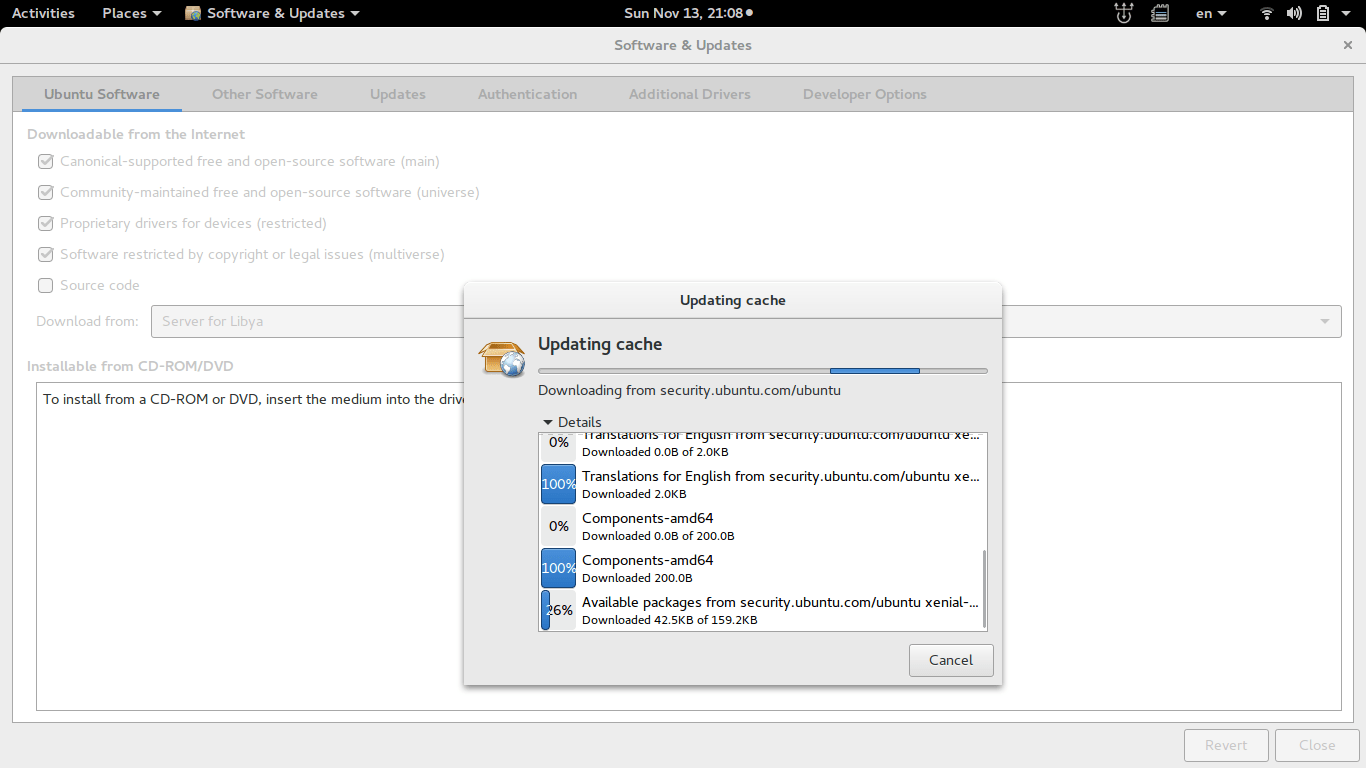
Software and updates
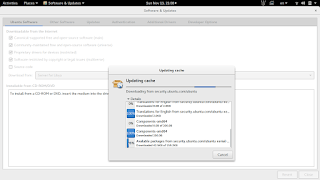
I’m used to having the software settings and sources in a separate application than the software center, in Kubuntu they are merged up together and aren’t exactly easy to find, as if the Kubuntu developers don’t want you to find the source settings and edit them properly.
The file manager Dolphin
Some of the things I really liked is the Dolphin file manager, it’s much better than Nautilus, the interface is clean and clear, and doesn’t have some of the chronic bugs Nautilus plagued with, it’s also featured packed as it has a double pane and gives a better access to the main controls and preferences.
Adding my set of tools
Things to note
I also noticed that Kubuntu doesn’t have a backup utility? That is not good to be honest, it was so easy adding Deja backup from Synaptic but a backup utility is something you need out of the box!
Another thing is the terminal emulator Konsol, it doesn’t start with the usual CTRL + ALT + T key combination right away and it takes a bit of tweaking to get it to work.
Dolphin doesn’t handle the smartphone very well, it can’t write to the phone’s memory and often fails to explore it’s contents in MTP mode.
My post about Ubuntu Gnome is still relevant to a great degree, I do miss the Gnome pomodoro timer because it’s a Gnome application and you have to install all of Gnome libraries and dependencies, to get it to work, which isn’t exactly productive. And I’m really unsure how to integrate it into the KDE interface, so it has to go! Ktimer on the other hand has great potential of launching scripts and apps on a specific timer.
Slow boot!
One of the main issues I noticed is the slow boot, nearly 10 times what Gnome needed to boot, I managed to fix this problem and you can find the solution here.
Warning
Never install any distro if the Checksum don’t match! I did it and I was in for a world of pain, and had to reinstall all the packages from synaptic.
Final verdict
I think Kubuntu and KDE in general is underrated and doesn’t get as much “mainstream attention” as other flavors and interfaces, it is worth a try!
It feels really well polished and almost reminds me of Macs OS, I’ve never had or worked one on, but that’s what I think at least.
What do you think of this post? Do you use Kubuntu? What do you think?
Please share this on social media, and subscribe to my mailing list to get updates before anyone else!


")
